Outdoor Lighting Ideas That Make a Yard Feel Finished
Outdoor Lighting Ideas That Make a Yard Feel Finished is one of those topics where a little planning goes a long way. In this guide I walk through the process we use in real homes — not just what looks good in a photo, but what actually holds up over time.
Start here
Before you buy or move anything, measure the space and note how you actually use it. The best-looking room is one that matches how you live, so start with the routines: where you sit, where you drop keys, where the light falls in the afternoon.
The essentials
Focus on the pieces that do the most work. Get those right and the rest of the room comes together with much less effort. Aim for materials that patina rather than degrade, and colors you will still like in five years.
- Choose one clear focal point per room.
- Pick materials that improve with age.
- Layer textures instead of adding more colors.
- Leave visual breathing room — negative space is a design element.
Common mistakes
The mistakes we see most often are matching everything too tightly, over-scaling accessories, and skipping proper lighting. Fix those three and most rooms improve overnight.
Strategic Placement for Ambiance
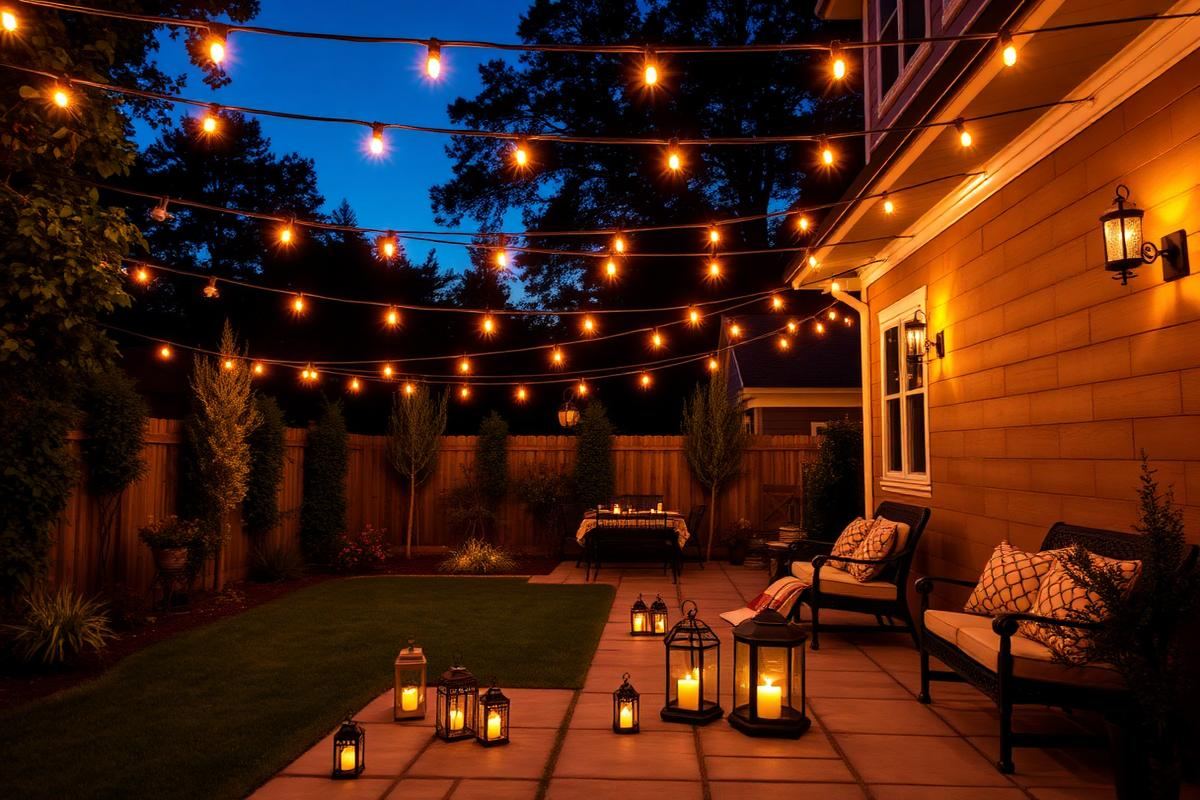
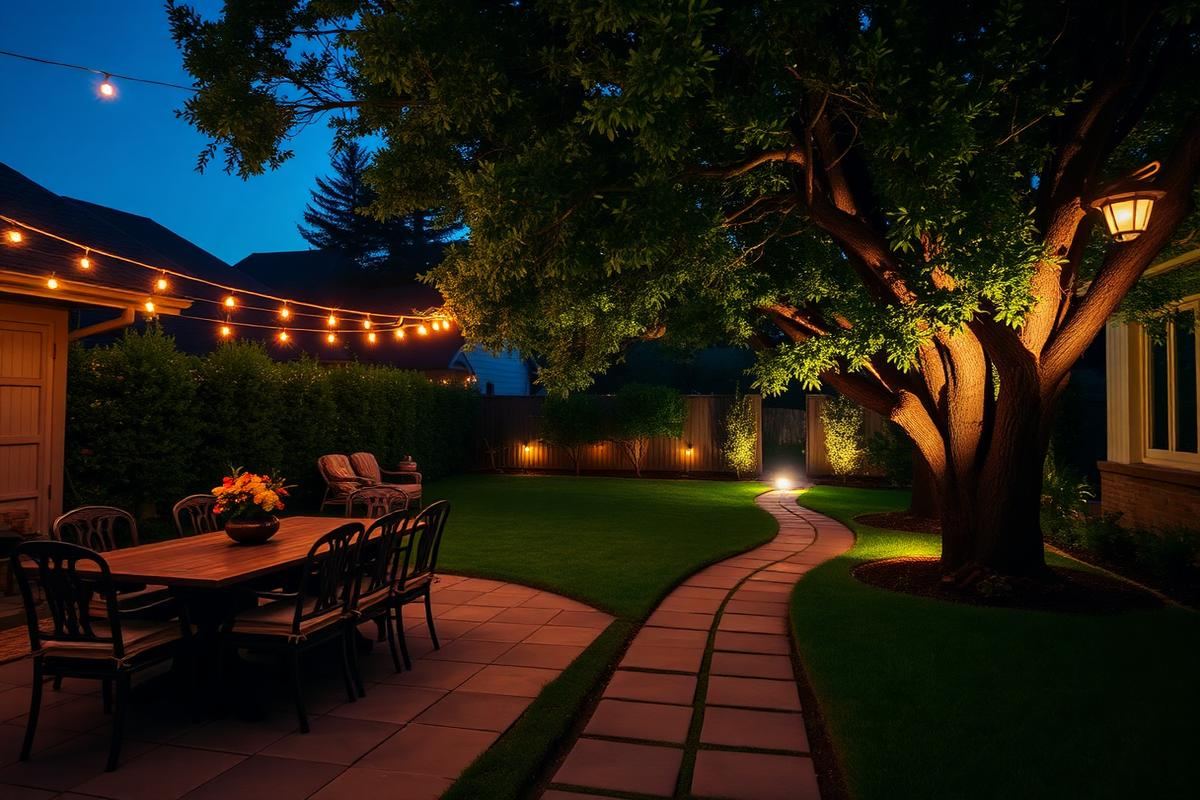
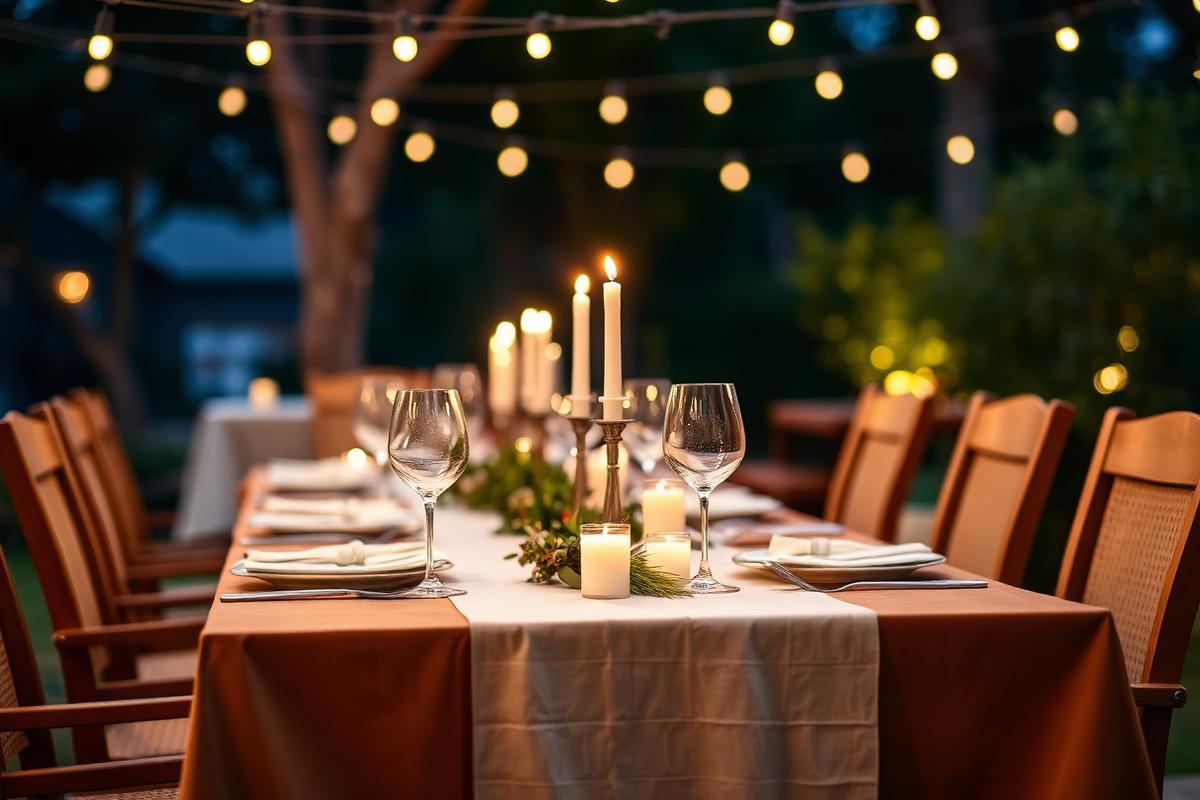
Achieving an inviting outdoor ambiance is less about the sheer number of lights and more about their strategic placement. Think of your yard as a series of zones, each requiring a specific lighting approach. For dining areas, like a patio with a 6-foot rectangular table, aim for overhead lighting that provides ample illumination without glare. A string of commercial-grade bistro lights, suspended at 8-10 feet high, creates a festive canopy. Space bulbs roughly 18-24 inches apart. Hardwired options, though more costly (typically $200-$400 for installation and materials for a 20-foot run), offer superior durability and cleaner aesthetics compared to solar or battery-operated alternatives. For pathways, especially those with uneven surfaces or steps, low-profile, directional path lights are crucial. Install these every 4-6 feet, angled slightly downwards to prevent upward glare. Their primary function is safety and wayfinding, not spotlighting. Many homeowners make the mistake of using overly bright path lights, which diminish the overall tranquil feel. Opt for fixtures emitting 50-100 lumens.
Highlighting Architectural and Landscape Features
Effective outdoor lighting extends beyond functional illumination to accentuating your home’s best features. Uplighting, the technique of placing a fixture at ground level and directing its beam upwards, can dramatically transform a mature tree or an architectural element. For a stately oak with a trunk diameter of 2-3 feet, a single, 15-watt LED spotlight (around 400 lumens, 3000K warm white) placed 3-4 feet from the base, angled at 45 degrees, creates a stunning focal point. Avoid harsh, narrow beams that create a 'striplight' effect. Instead, look for fixtures with a wider beam spread (e.g., 60-degree flood) for a softer, more natural glow. Similarly, for stonework or a pergola feature, recessed step lights or small 'puck' lights can add subtle definition without being obtrusive. Ensure these fixtures are rated IP67 or higher for direct outdoor exposure to moisture. A common pitfall is over-lighting, which makes features look artificial and washes out intricate details. The goal is to enhance, not overpower.
Color Temperature and Dimming Control
The psychological impact of outdoor lighting is heavily influenced by its color temperature, measured in Kelvin (K). For a cozy, inviting atmosphere, especially in dining or lounging areas, aim for warm white light in the 2700K-3000K range. This mimics the glow of incandescent bulbs and candlelight. Cooler temperatures, such as 4000K or higher, tend to feel more sterile and are better suited for task lighting or security applications, not general ambiance. A common mistake is using a mix of disparate color temperatures across different fixtures, which creates a jarring, uncoordinated look. Strive for consistency. Beyond color, dimming capabilities are non-negotiable for true flexibility. Installing a low-voltage outdoor dimmable transformer (starting around $150 for a 150-watt unit) allows you to adjust light levels from bright task illumination to a soft, romantic glow. This is particularly valuable for entertaining, where the mood might shift from pre-dinner mingling to post-dinner relaxation.
Security Through Illumination
Thoughtful lighting doubles as a deterrent for unwanted guests, creating a feeling of safety and security. Instead of blanket floodlighting, which can annoy neighbors and waste energy, opt for motion-activated lights in strategic locations. Mount these fixtures at a height of 8-10 feet on corners of the house, near entry points, or overlooking secluded areas. A typical 2000-lumen LED motion-activated floodlight (around $50-$80) with a 180-degree sensor and a detection range of 30-50 feet is highly effective. Ensure the sensor is aimed correctly to avoid false triggers from passing cars or small animals. Pathway leading directly to the front door can benefit from permanently lit, low-level fixtures, creating an approachable and welcoming entrance while maintaining visibility. For side yards or less trafficked areas, consider battery-operated or solar-powered security lights as a cost-effective solution, though their lumen output and durability may be less than wired options. Layering different types of lighting ensures no dark corners for potential intruders to conceal themselves.
Maintenance Tips for Longevity
To ensure your outdoor lighting continues to shine brightly and reliably for years, a consistent maintenance routine is key. Neglecting fixtures can lead to premature failure and diminished aesthetics. Annually, inspect all wiring for cuts, fraying, or exposed connections; replace any damaged sections immediately to prevent short circuits. Clean fixture lenses every spring and fall using a mild glass cleaner and a soft cloth to remove dirt, pollen, and hard water spots, which can significantly reduce light output (up to 30%). Check for encroaching foliage that might block light or create unwanted shadows; prune regularly, ensuring at least a 12-inch clearance around fixtures. For low-voltage systems, periodically test all bulbs. Even LED bulbs can fail, albeit less frequently. Replace any non-functioning bulbs promptly to maintain a balanced lighting scheme. Ensure proper drainage around ground-level fixtures to prevent water accumulation, especially in planting beds. Regularly tightening any loose screws or mounting brackets also prevents fixtures from shifting or being damaged by wind.
- Monthly: Check for debris accumulation on lenses and sensors.
- Quarterly: Inspect for loose connections or exposed wiring.
- Annually: Perform a thorough cleaning, trim foliage, and test all bulbs.
DIY vs. Professional Installation & Cost Considerations
Deciding between DIY and professional installation hinges on complexity, safety, and budget. For simple, low-voltage garden lights or string lights that plug into an existing outdoor outlet, DIY is a viable and cost-effective option. A basic low-voltage landscape lighting kit for a small garden (6-8 lights, transformer, and wire) can cost $100-$300. Instructions are usually straightforward, involving basic wiring connections and burying low-voltage wire a few inches deep. However, for hardwired systems, trenching for underground conduit, installing dedicated circuits, or mounting fixtures onto the house’s exterior, professional installation is strongly recommended. Electricians typically charge $75-$150 per hour. A comprehensive landscape lighting system for an average-sized yard (20-30 fixtures, hardwired) can cost anywhere from $2,500 to $6,000, including materials and labor. This investment ensures code compliance, proper waterproofing, and optimal fixture placement which significantly extends the system’s lifespan and safety. Attempting complex wiring without expertise risks electrical hazards and property damage, and may void insurance.
Key takeaways
- Match the room to how you actually live.
- Anchor with one main piece and clear lighting.
- Layer textures, not colors.
- Leave breathing room around every object.
Frequently asked questions
Where should I start?
Start with the largest piece and the light. Everything else — art, textiles, small objects — is easier to place once those two anchors are set.
What is a realistic budget?
Prioritize the pieces you touch every day. Spend more on those and less on decorative items, which are easy to swap over time.
How long should this last?
A well-chosen main piece should last 10–15 years. Refreshes come through textiles, art, and accessories, not full replacements.

Sophia Bennett is a certified interior stylist and the senior editor at Maison Bloom. She has spent more than eight years helping homeowners and renters create warm, functional interiors, with hands-on experience across small city apartments and family homes. Her work has been informed by close collaboration with independent designers, craftspeople, and product testers.
View full profile →Related reading
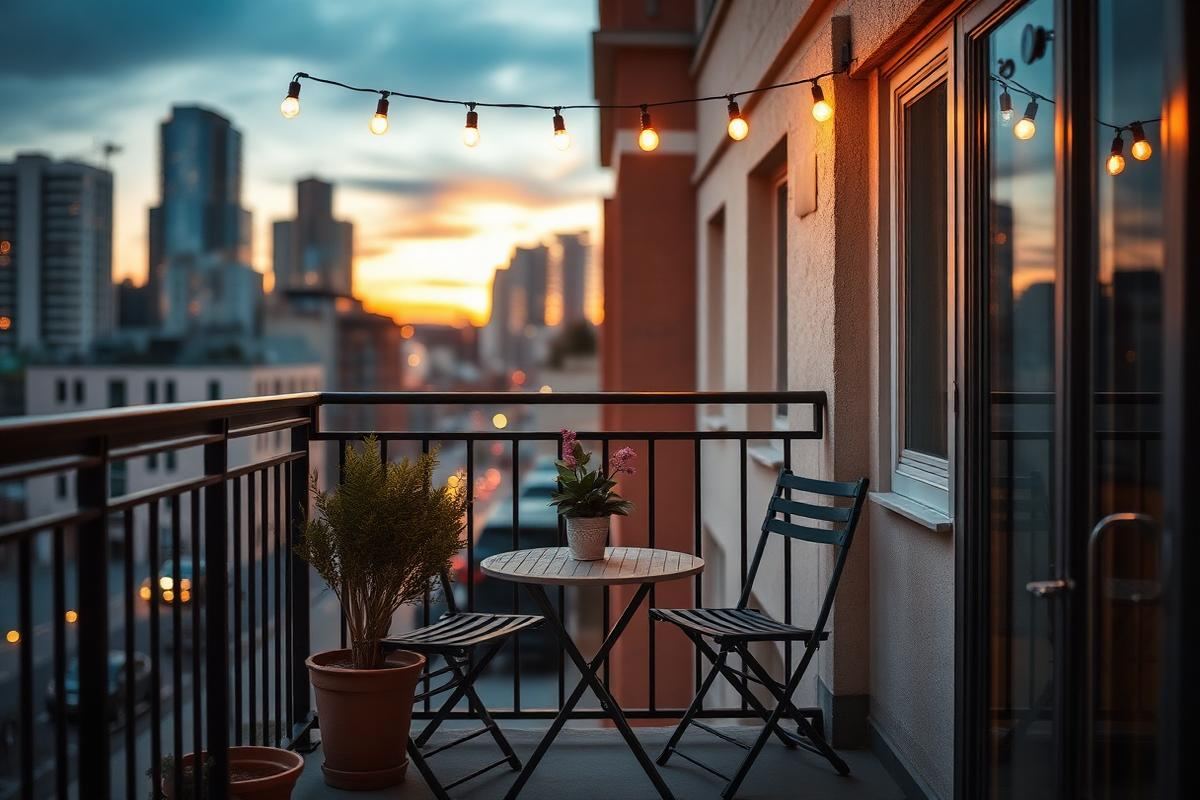
Small Balcony Decor Ideas: Turn 30 Square Feet Into a Room
A small balcony is not a wasted balcony. With three good choices, it becomes another room.
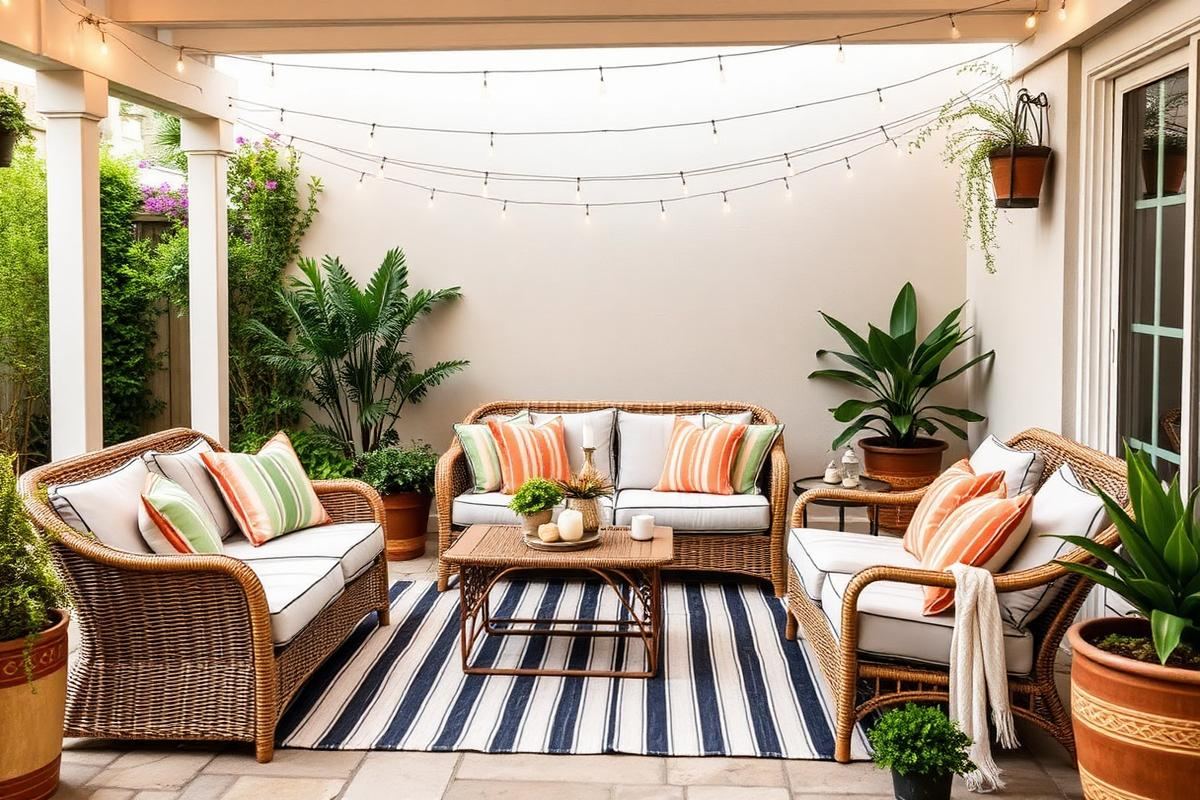
Outdoor Patio Styling Guide: Furniture, Rugs, and Light
A styled patio uses the same rules as a good living room — with materials that survive the weather.
Outdoor Dining Setup: A Simple Blueprint
Outdoor Dining Setup: A Simple Blueprint — a clear, editor-tested guide covering the essentials without the filler.