Kitchen Island Styling: What Belongs, What Doesn't
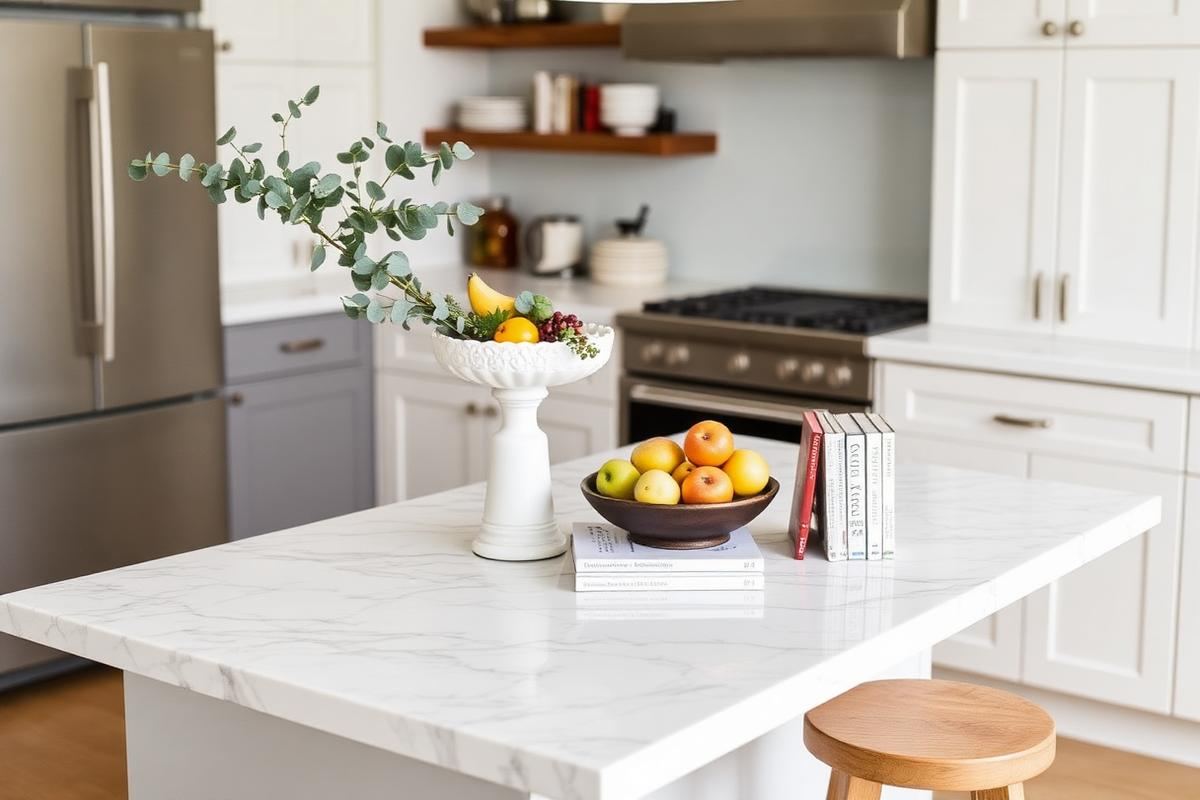
Kitchen Island Styling: What Belongs, What Doesn't is one of those topics where a little planning goes a long way. In this guide I walk through the process we use in real homes — not just what looks good in a photo, but what actually holds up over time.
Start here
Before you buy or move anything, measure the space and note how you actually use it. The best-looking room is one that matches how you live, so start with the routines: where you sit, where you drop keys, where the light falls in the afternoon.
The essentials
Focus on the pieces that do the most work. Get those right and the rest of the room comes together with much less effort. Aim for materials that patina rather than degrade, and colors you will still like in five years.
- Choose one clear focal point per room.
- Pick materials that improve with age.
- Layer textures instead of adding more colors.
- Leave visual breathing room — negative space is a design element.
Common mistakes
The mistakes we see most often are matching everything too tightly, over-scaling accessories, and skipping proper lighting. Fix those three and most rooms improve overnight.
Lighting the Centerpiece
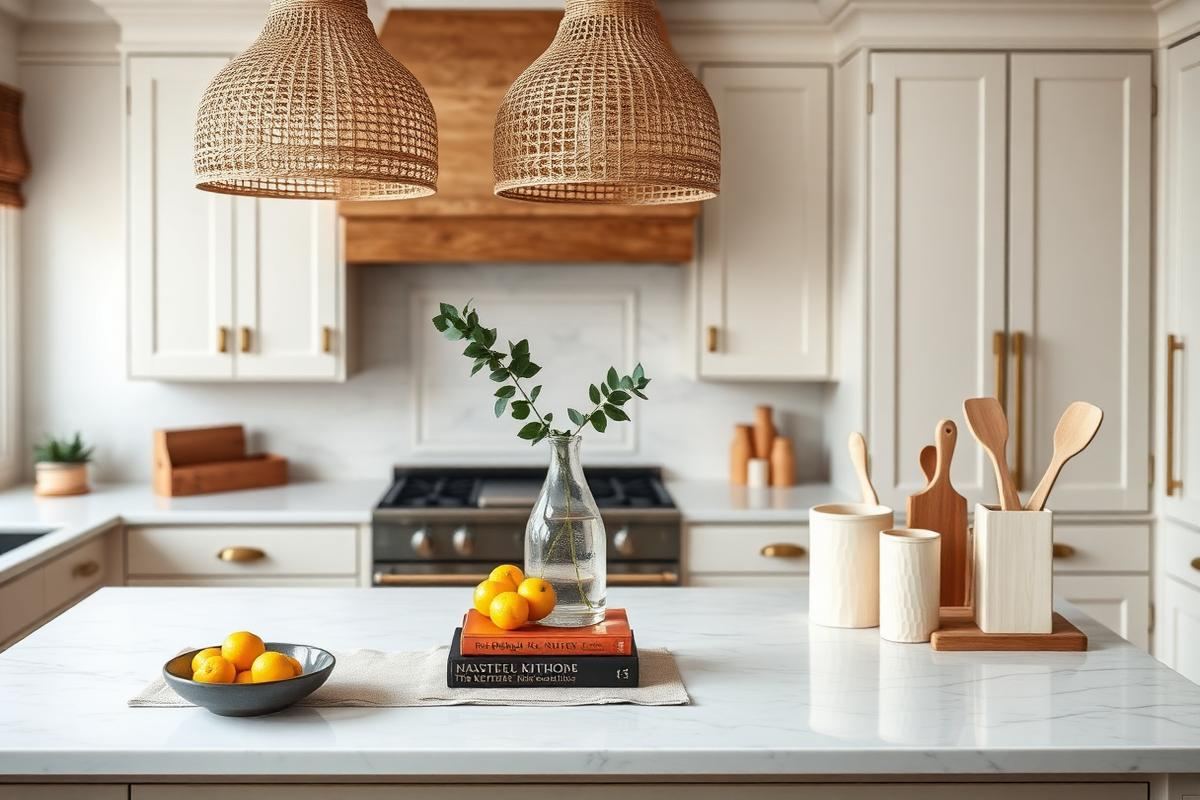
Thoughtful lighting above your kitchen island isn't merely functional; it's a pivotal design element that anchors the entire space. For islands ranging from 6 to 8 feet in length, we typically recommend two pendant lights, ideally between 12 to 18 inches in diameter for a balanced look. Larger islands (9-12 feet) can beautifully accommodate three pendants, spaced roughly 30 inches apart from the center of each fixture. The bottom of the pendant should hang approximately 30-36 inches above the island countertop to avoid obstructing views or creating glare. Consider materials like matte black metal for an industrial-chic vibe, clear seeded glass for a touch of vintage elegance, or woven rattan for a natural, bohemian feel. Expect to invest anywhere from $150 to $400 per pendant for quality fixtures that will stand the test of time and style. Avoid under-scaled fixtures that disappear into the ceiling, or over-scaled ones that dominate the room. Also, steer clear of single, flush-mount lights for anything but the smallest islands; they lack the visual impact and focused illumination needed.
- Measure island length to determine number of pendants (e.g., 2 for 6-8ft, 3 for 9-12ft).
- Maintain 30-36 inches clearance from counter to pendant base.
- Match fixture materials to your overall kitchen aesthetic.
Selecting the Right Stools
Stools aren't just seating; they contribute significantly to the island's overall aesthetic and user experience. The crucial measurement is counter height to stool height: for a standard 36-inch high island, opt for counter stools with a seat height between 24-26 inches. For a higher 42-inch bar-height island, bar stools with a 28-30 inch seat height are appropriate. Always allow at least 6-10 inches between the top of the stool seat and the underside of the island. When determining the number of stools, allow a minimum of 24 inches for each person to sit comfortably, ideally 28-30 inches for more elbow room. This means a 6-foot island can comfortably fit three stools, while an 8-foot island can accommodate four. Materials matter: consider solid wood for durability and warmth, metal frames with upholstered seats for comfort and modern flair, or backless leather stools for a sleek, minimalist look. Expect to budget $100-$350 per stool for good quality and design. A common mistake is crowding too many stools, which makes the island feel cramped and unusable.
Stool Height Guide:
- 36" island: 24-26" seat height stools.
- 42" island: 28-30" seat height stools.
- Allow 6-10" between seat top and island underside.
The Art of the Centerpiece Statement
The centerpiece is the island's focal point, demanding intention. Instead of a single, small item that gets lost, think in terms of a curated vignette. A large, low-profile bowl (e.g., 16-20 inches in diameter) filled with seasonal fruit, like vibrant citrus or deep-toned pomegranates, can be visually stunning. Alternatively, a substantial decorative tray (14x20 inches or larger) made from polished marble or reclaimed wood provides a cohesive base for a cluster of items. On this tray, you might place a tall, slender vase (12-18 inches high) with a single architectural branch or a simple arrangement of fresh flowers, paired with a small stack of cookbooks (2-3 volumes) and a unique sculptural element, like a natural geode or a ceramic bird. The key is varying heights, textures, and materials to add depth. Avoid cluttering with too many small, unrelated items. A single, well-chosen larger piece has more impact than five mediocre ones. Look for pieces that resonate with your home's aesthetic, perhaps a striking ceramic piece around $70-150, or a beautiful tray for $50-100.
Practical vs. Purely Decorative
While aesthetics are crucial, an island often serves as a functional hub. Integrating practical items gracefully is an art. For instance, a beautifully crafted wooden cutting board (18x24 inches or larger) leaning against a backsplash or laid flat with a small, artisanal bread knife can look incredibly inviting. A stylish ceramic canister set (three ranging from 2lb to 5lb capacity) for flour, sugar, and coffee can be both useful and attractive if the design complements your kitchen. For those who frequently entertain, a high-quality ice bucket with tongs (e.g., stainless steel or hammered copper, around $40-$80) can be displayed during gatherings. The trick is to ensure these practical elements are high-quality, well-maintained, and thoughtfully arranged. Resist the urge to display everyday kitchen tools or appliances unless they are exceptionally attractive (e.g., a KitchenAid mixer in a unique color can be a statement). Remember, a functional item can be decorative, but not every decorative item needs a function beyond beauty.
- Display large, well-crafted cutting boards.
- Utilize stylish canisters for pantry staples.
- Showcase high-quality entertaining accessories during use.
Layering Textures and Materials
A flat, uninteresting island often lacks textural variety. Begin with a base, perhaps a woven placemat (13x19 inches) or a linen runner (14x72 inches for an 8-foot island) to introduce softness and a foundational layer. On top of this, place items with contrasting textures: a polished stone bowl (e.g., marble or travertine, 10-12 inches) next to a rough-hewn wooden tray (12x18 inches). Integrate metals through a brass candle holder (6-8 inches tall) or a hammered copper pitcher (10-12 inches tall). Introduce glass with a clear vase (10-14 inches) filled with fresh greenery. Even the choice of fresh produce can add texture; think the ridged surface of a pineapple or the smooth skin of an apple. This layering creates visual interest and depth, preventing the island from looking one-dimensional. A common misstep is sticking to only smooth, uniform surfaces, which can make the space feel sterile. Experiment with natural elements like moss balls, river stones, or even a small potted herb plant to bring organic texture. A good linen runner might cost $30-$60; quality stone or wooden pieces can range from $40-$150.
Seasonal and Occasional Updates
Your kitchen island shouldn't be static; small, thoughtful updates can keep it looking fresh and relevant throughout the year. For spring, swap out heavier accents for lighter, brighter ones – think a vase of tulips or cherry blossoms (costing around $15-$30 for a fresh bunch), light-colored ceramic bowls, or a collection of small potted herbs like basil and mint (individual pots around $5-$10). In autumn, incorporate richer hues and natural elements: a large wicker basket filled with gourds and mini pumpkins, sprays of fall foliage, or candles in warm, earthy tones. For holidays, select special pieces like a festive serving platter or a subtly themed floral arrangement. This doesn't require a complete overhaul; focus on 1-2 rotating items. A common error is leaving the same decor out year-round, which can make the space feel stale. Allocate a small budget, perhaps $20-$50 per season, to pick up fresh flowers, unique produce, or small seasonal decorative items. This mindful rotation ensures your island always reflects the current mood and keeps your kitchen feeling dynamic and inviting without breaking the bank.
Key takeaways
- Match the room to how you actually live.
- Anchor with one main piece and clear lighting.
- Layer textures, not colors.
- Leave breathing room around every object.
Frequently asked questions
Where should I start?
Start with the largest piece and the light. Everything else — art, textiles, small objects — is easier to place once those two anchors are set.
What is a realistic budget?
Prioritize the pieces you touch every day. Spend more on those and less on decorative items, which are easy to swap over time.
How long should this last?
A well-chosen main piece should last 10–15 years. Refreshes come through textiles, art, and accessories, not full replacements.

Sophia Bennett is a certified interior stylist and the senior editor at Maison Bloom. She has spent more than eight years helping homeowners and renters create warm, functional interiors, with hands-on experience across small city apartments and family homes. Her work has been informed by close collaboration with independent designers, craftspeople, and product testers.
View full profile →Related reading
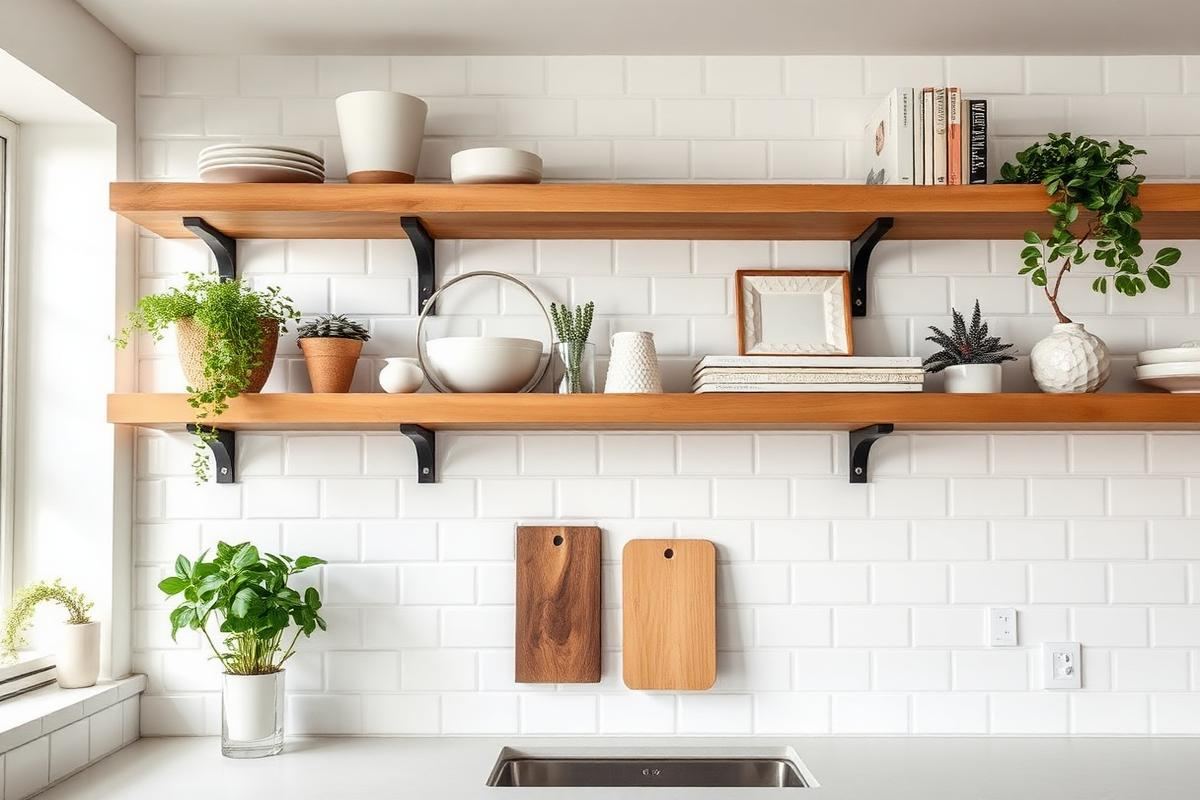
Open Kitchen Shelving: When It Works, When It Doesn't
Open shelving looks great in photos. In real kitchens, it is a lifestyle choice, not a style choice.
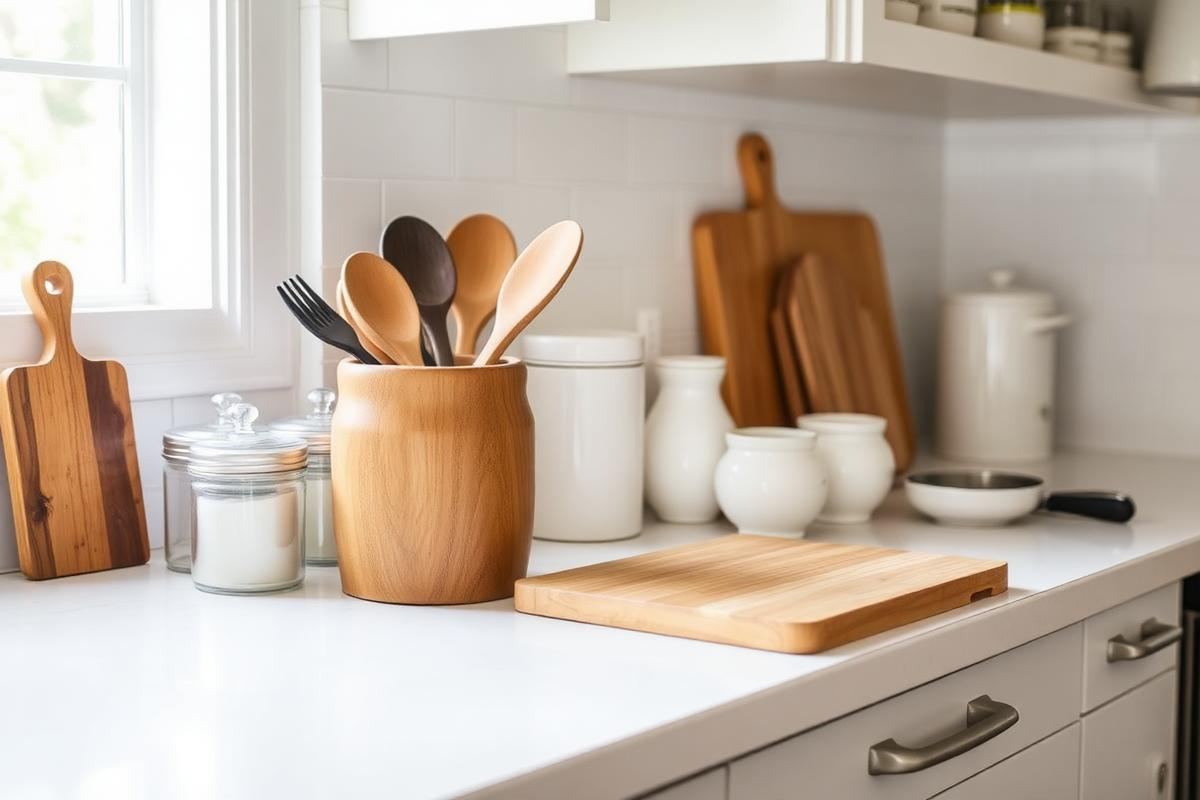
How to Organize Kitchen Counters (Without Losing Character)
How to Organize Kitchen Counters (Without Losing Character) — a clear, editor-tested guide covering the essentials without the filler.
Farmhouse Kitchen Decor: The Modern Take
Farmhouse Kitchen Decor: The Modern Take — a clear, editor-tested guide covering the essentials without the filler.