How to Organize Kitchen Counters (Without Losing Character)
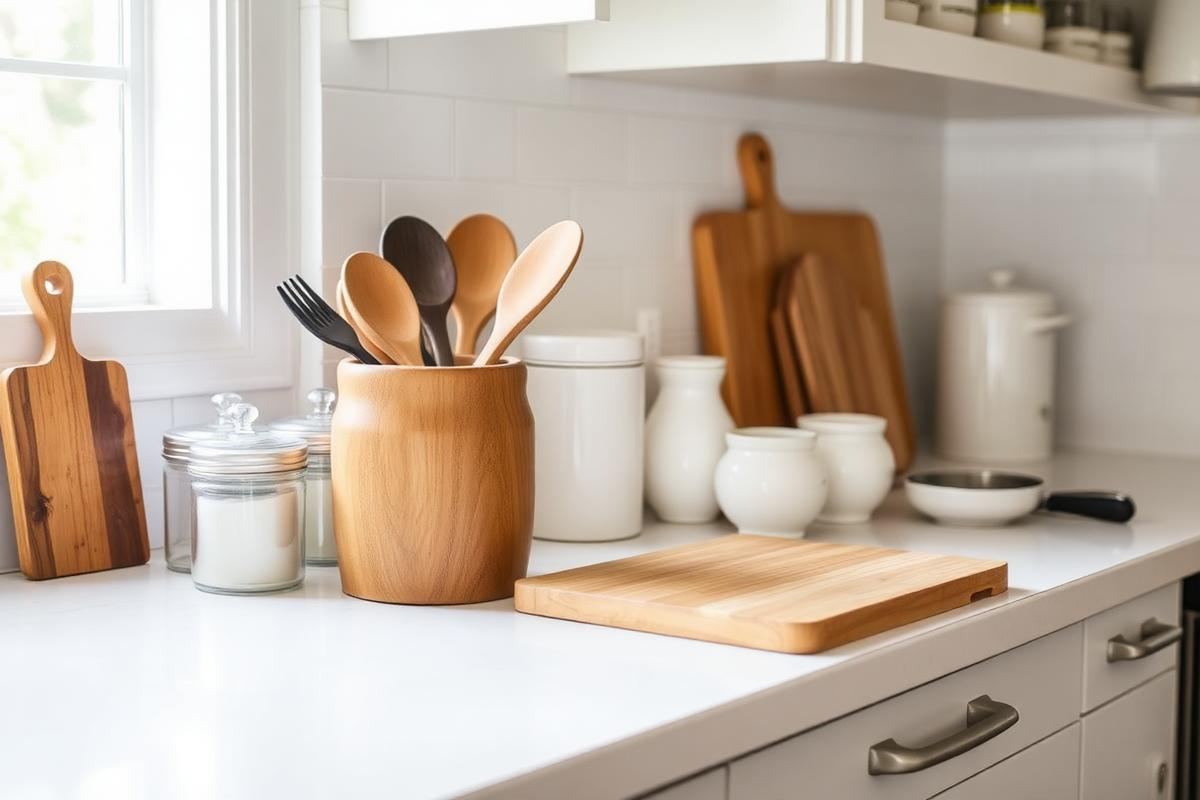
How to Organize Kitchen Counters (Without Losing Character) is one of those topics where a little planning goes a long way. In this guide I walk through the process we use in real homes — not just what looks good in a photo, but what actually holds up over time.
Start here
Before you buy or move anything, measure the space and note how you actually use it. The best-looking room is one that matches how you live, so start with the routines: where you sit, where you drop keys, where the light falls in the afternoon.
The essentials
Focus on the pieces that do the most work. Get those right and the rest of the room comes together with much less effort. Aim for materials that patina rather than degrade, and colors you will still like in five years.
- Choose one clear focal point per room.
- Pick materials that improve with age.
- Layer textures instead of adding more colors.
- Leave visual breathing room — negative space is a design element.
Common mistakes
The mistakes we see most often are matching everything too tightly, over-scaling accessories, and skipping proper lighting. Fix those three and most rooms improve overnight.
Strategizing Your Zones
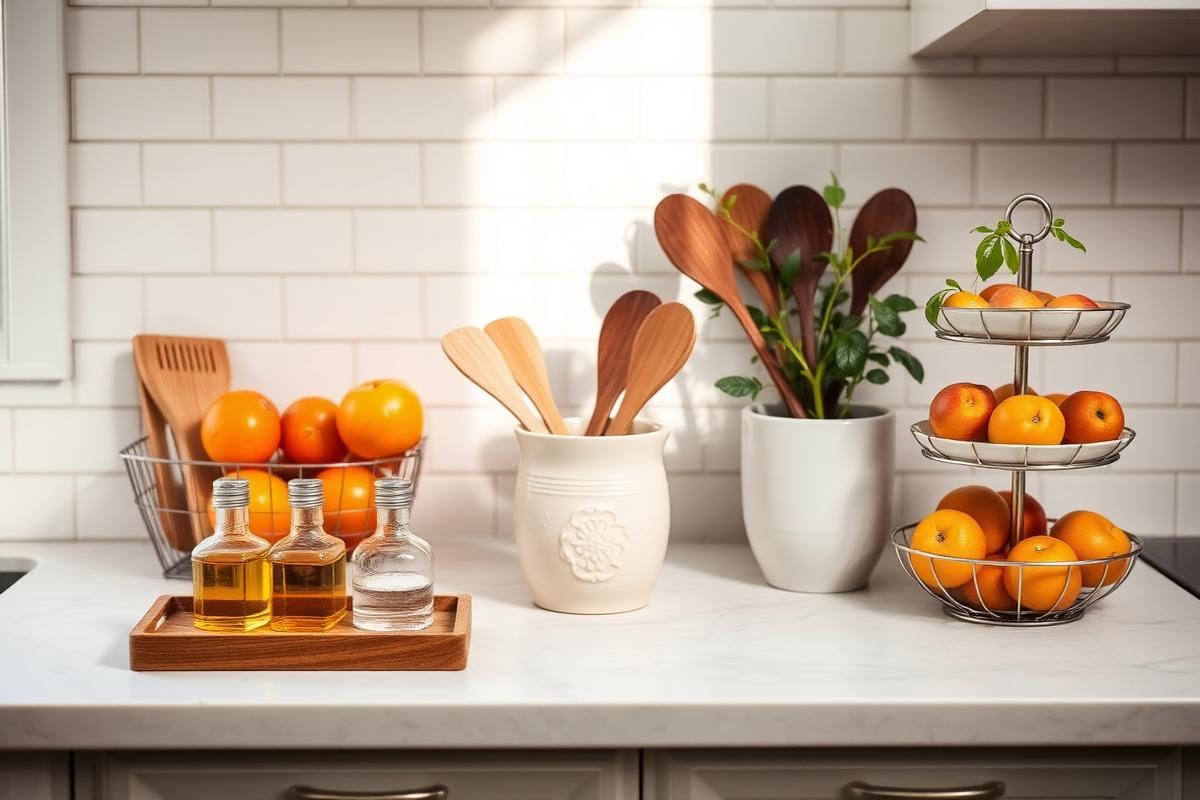
Before you buy a single organizer, take a critical look at your kitchen layout and how you use it. Think in terms of zones: preparation, cooking, baking, coffee, and even a dedicated 'landing strip' for items coming into the kitchen. Map out these zones mentally, or even physically with painter's tape on your counters. This reveals natural traffic patterns and what items truly belong where. For instance, if your coffee maker is on the counter opposite your sink, consider moving the mugs, sugar, and stirrers closer to the machine for efficiency. The goal here is fluidity and minimizing unnecessary steps during daily tasks. A common mistake here is trying to apply a one-size-fits-all solution; your zones are unique to your cooking habits and lifestyle.
For smaller kitchens, combining zones is key. Your prep area might double as your baking station when needed, so ensure items like cutting boards and measuring cups are easily accessible but also tuck away neatly. Larger kitchens benefit from more defined zones, preventing clutter from spreading. Spend at least 30 minutes observing your own habits. Do you always grab a dish towel from the same spot? Is your most-used spice jar consistently moved to the front? These micro-observations will inform your organization strategy. This initial, thoughtful inventory is the bedrock of lasting counter organization, ensuring that every item has a logical home tailored to your needs.
The Power of Vertical Space
Counter space is precious, so look up! Vertical organizers are your best friends. A two-tier or three-tier fruit basket, for example, can hold produce while taking up just a 10-inch diameter footprint. Spice racks that stand upright or mount to a wall free up significant counter real estate. For utensils, a tall crock (ceramic or stainless steel, around 6-7 inches tall and 4-5 inches in diameter) keeps spatulas and whisks contained and at arm's reach, rather than sprawling across a drawer or rolling around flat. Wire shelving inserts can double the storage capacity inside cabinets, which indirectly frees up counter space by providing a better home for overflow items that might otherwise linger.
Consider floating shelves for decorative items or regularly used cookbooks, always ensuring they are mounted securely into studs (or using appropriate anchors for plaster/drywall). A narrow, wall-mounted magnetic knife strip (such as the 16-inch IKEA GRUNDTAL, approximately $15) is far more space-efficient and hygienic than a bulky knife block. Even a small, tiered organizer for mail or keys in a designated 'drop zone' can keep paper clutter from accumulating on a busy corner. Emphasize items that are visually appealing if they are going to live vertically and openly; think handcrafted pottery crocks over plastic utensil holders.
Smart Storage Accessories
Investing in the right accessories makes all the difference. For oils and frequently used seasonings, a small, shallow tray or caddy (approx. 10x5 inches) groups these items, making them easy to move for cleaning and containing potential drips. Look for materials that complement your kitchen's aesthetic – acacia wood, marble, or matte ceramic are popular choices. Don't underestimate the utility of small, lidded containers, especially for coffee pods, sugar, or tea bags. Clear acrylic containers are excellent for seeing contents at a glance, like the OXO Pop Containers, which can range from $12-$30 depending on size.
For small appliances that you use daily, like a stand mixer or toaster, consider a dedicated appliance garage if your kitchen has one. If not, embrace their presence by ensuring their surroundings are clean and organized. A slim, pull-out cart (around 6-8 inches wide) can tuck between appliances or cabinets, offering hidden storage for cutting boards, cleaning supplies, or extra spices. For a touch of style, utilize small, decorative bowls or jars to hold items like sponges, dish soap (decanted into a chic dispenser), or even a small plant. The key is to select pieces that are both functional and visually appealing, enhancing rather than detracting from your decor.
The Art of the Landing Strip
Every kitchen needs a designated 'landing strip' – a small, organized area near the entry point where items coming into the kitchen can be temporarily placed. This prevents keys, mail, sunglasses, and other transient items from scattering across your pristine counters. This might be a console table just outside the kitchen, or a dedicated 12-inch wide section of your counter. The essential components are a small tray or catch-all bowl (ceramic or woven, approximately 8-10 inches in diameter), a key hook (if applicable), and perhaps a slim container for incoming mail. The magic of the landing strip is its ability to centralize clutter, making it easy to sort or put away later.
- Use a charging station: A small, multi-device charging station (often around $25-$50) can neatly consolidate phones and tablets, preventing unsightly cords from snaking across your counter.
- Designate a mail slot or basket: A narrow, upright file holder or a small, aesthetically pleasing basket (maximum 10 inches wide) keeps paper clutter from spreading.
- Keep it minimal: The landing strip is not for permanent storage. It's a temporary holding zone. Only items that consistently enter and exit the kitchen should reside here. Periodically declutter this area to ensure its functionality.
Resist the urge to let the landing strip become a permanent dumping ground. Its success hinges on regular maintenance. Once a day, ideally in the evening, process the items: put keys back on their hooks, sort mail, and move charging devices to their overnight spots. This small habit reinforces the organized nature of your kitchen.
Maintenance for Longevity
The initial organization is only half the battle; sustained tidiness requires consistent effort. Adopt a 'reset' routine each evening. This involves wiping down counters, putting away any stray items, and ensuring that everything has returned to its designated home. It takes less than 10 minutes and prevents small messes from escalating into overwhelming clutter. Think of it as closing your kitchen for the night, ready for a fresh start in the morning. This small, daily habit is more effective than intermittent, large-scale reorganization efforts.
The One-In, One-Out Rule:
To prevent new items from immediately undermining your efforts, implement the 'one-in, one-out' rule, especially for items that live on your counters. If you buy a new coffee maker, decide which old appliance (or even which current counter-dweller) will be moved off the counter or donated. This conscious decision-making prevents accumulation. Periodically, (perhaps quarterly or semi-annually), dedicate 30 minutes to a 'critical eye' walk-through. Identify any counter creep – items that seem to have magically appeared or multiplied. Re-evaluate their purpose and placement. Do you truly use that gadget daily? Could the bread box find a home in the pantry? This regular audit keeps your system lean and functional, ensuring your beautiful, organized counters remain that way, reflecting both efficiency and your unique style.
Key takeaways
- Match the room to how you actually live.
- Anchor with one main piece and clear lighting.
- Layer textures, not colors.
- Leave breathing room around every object.
Frequently asked questions
Where should I start?
Start with the largest piece and the light. Everything else — art, textiles, small objects — is easier to place once those two anchors are set.
What is a realistic budget?
Prioritize the pieces you touch every day. Spend more on those and less on decorative items, which are easy to swap over time.
How long should this last?
A well-chosen main piece should last 10–15 years. Refreshes come through textiles, art, and accessories, not full replacements.

Sophia Bennett is a certified interior stylist and the senior editor at Maison Bloom. She has spent more than eight years helping homeowners and renters create warm, functional interiors, with hands-on experience across small city apartments and family homes. Her work has been informed by close collaboration with independent designers, craftspeople, and product testers.
View full profile →Related reading
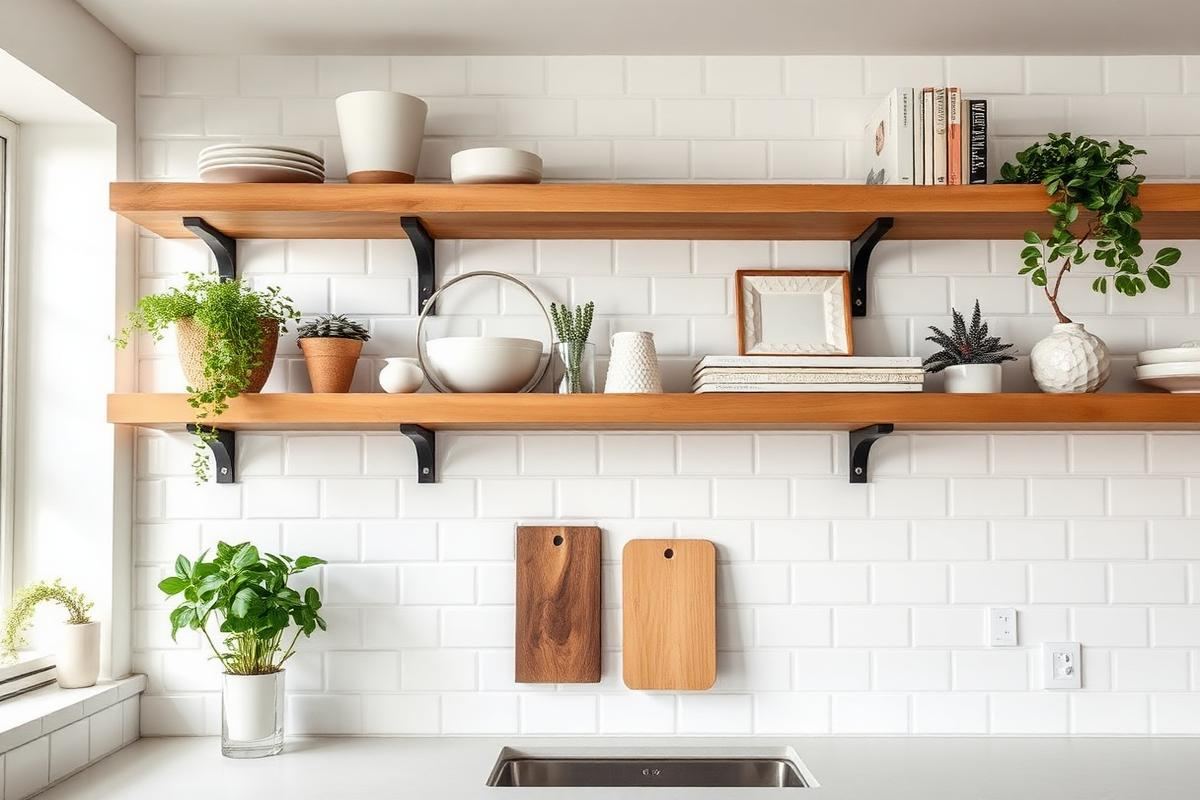
Open Kitchen Shelving: When It Works, When It Doesn't
Open shelving looks great in photos. In real kitchens, it is a lifestyle choice, not a style choice.
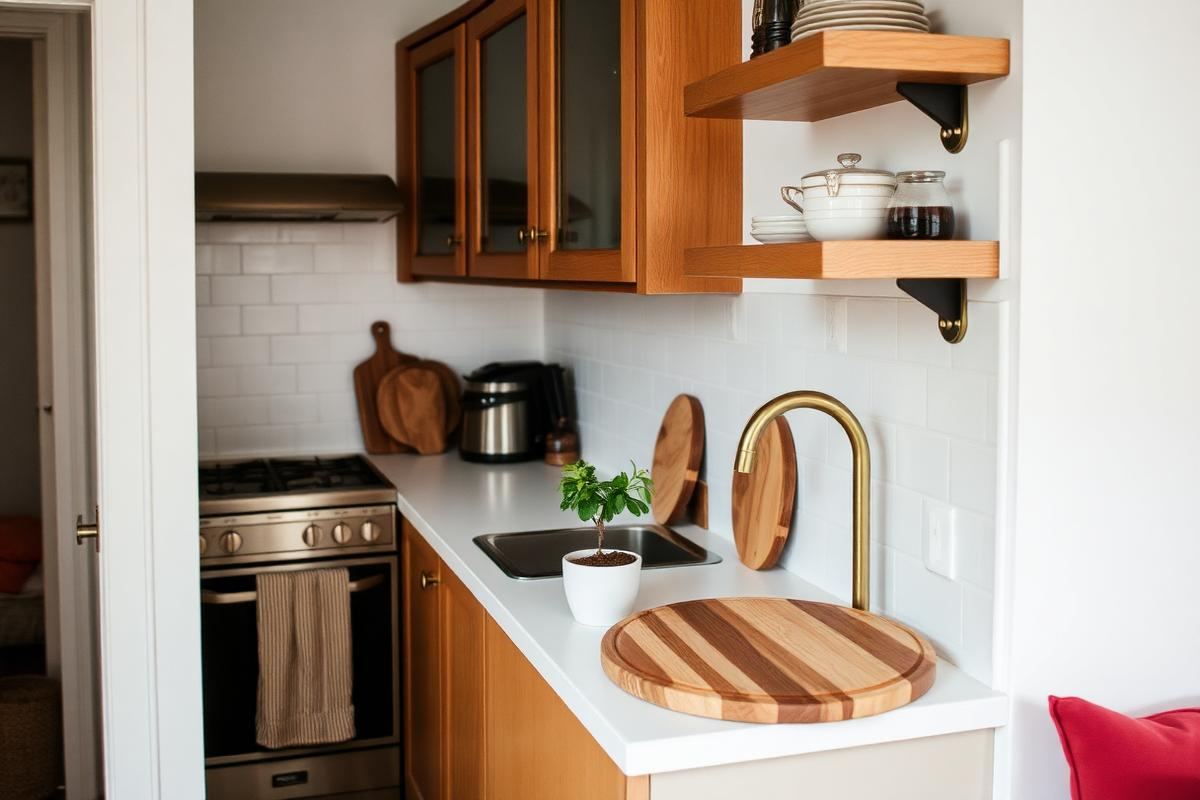
Small Kitchen Decor Ideas That Add Style Without Clutter
Every square inch of counter matters in a small kitchen. Here is how to add style without losing prep space.
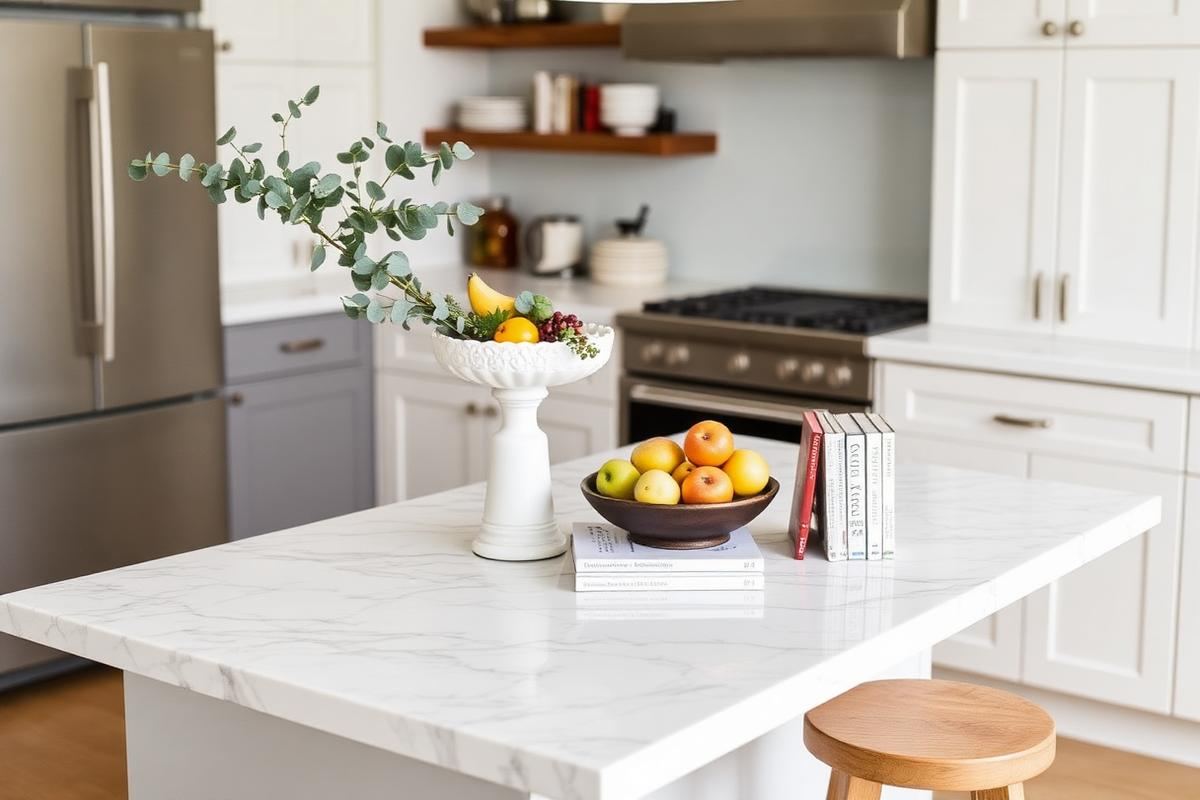
Kitchen Island Styling: What Belongs, What Doesn't
Kitchen Island Styling: What Belongs, What Doesn't — a clear, editor-tested guide covering the essentials without the filler.